GPU Pod
Overview
This section explains how to create, manage, and scale GPU Pods to make full use of GPU resources and optimize AI applications. Click GPU Pod in the sidebar to open the GPU Pod management page.
Create a GPU Pod
Step 1: Click New
On the GPU Pod page, click New to begin. The list supports filtering by Job Name and Status, and can be refreshed to show the latest tasks.

Step 2: Enter Pod Details
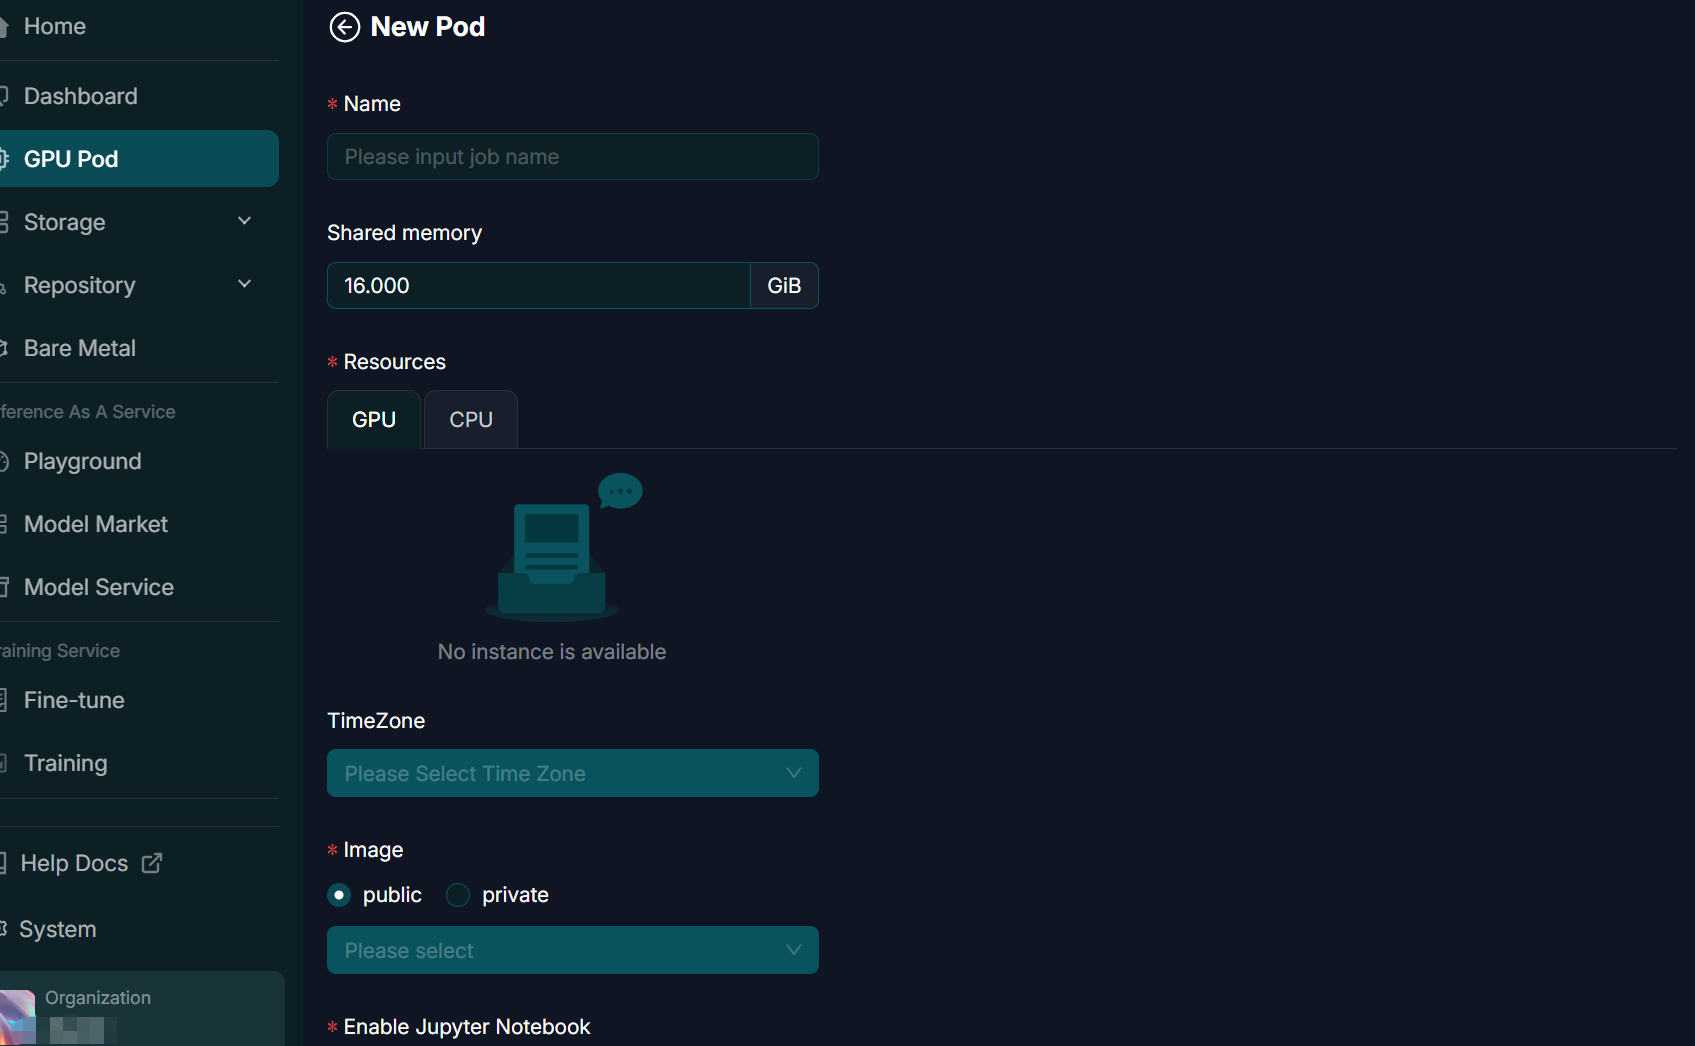
Enter a Pod name and select resources such as vCPU count, CPU type, and memory size. Select the image type (public / private), enable Jupyter if needed, and choose an SSH Key. The main settings are described below:
| Setting | Description |
|---|---|
| Name | A unique name for the GPU Pod. Required. |
| Shared memory | Container shared memory size, such as 16 GiB, which affects data exchange performance between processes. |
| Resources | Choose GPU or CPU resources and an available instance specification, including GPU model and count, CPU, memory, and other resources. |
| TimeZone | The system time zone within the Pod. |
| Image | Choose a public or private image, then select a specific image from the list. |
| Enable Jupyter Notebook | Whether to enable the Jupyter Notebook environment. |
| SSH Key | The SSH key used to sign in to the Pod. |
Manage GPU Pods
Manage GPU Pods by checking status, analyzing logs, monitoring performance, and troubleshooting:
- Pod status: Check runtime status, startup state, running duration, and resource usage.
- Log analysis: Search logs by keyword and time range to locate issues quickly. Use relevant keywords to narrow the search.
- Performance monitoring: Monitor network traffic, response times, and other metrics continuously to keep Pods performing well.
- Troubleshooting: Use diagnostic tools to identify and resolve issues. Understand the impact of configuration changes before applying them to avoid system instability.
View Pod Details
Click Detail in the list's actions column to view information about a specific Pod. Details are divided into Job Info and Resource Information:
| Job Info Field | Description |
|---|---|
| Pod Name | The GPU Pod name. |
| Jupyter Enablement | Whether Jupyter Notebook is enabled. |
| Creation Time | When the Pod was created. |
| Resource Information Field | Description |
|---|---|
| Resource Name | The name of the allocated resource. |
| vCPU | The number of virtual CPUs. |
| CPU Type | The CPU type. |
| Memory | Memory capacity. |
| GPU Count | The number of GPUs. |
| GPU Memory | GPU memory capacity. |
| GPU Specification | The specific GPU model and specifications. |

WebShell Terminal
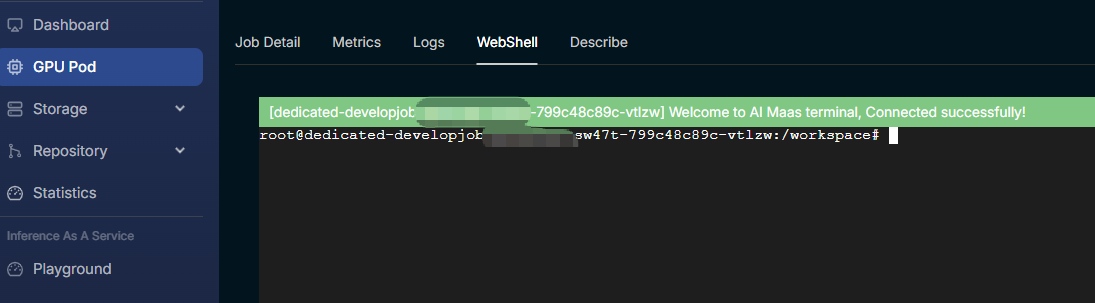
WebShell lets users open a terminal inside the Pod container directly in the browser and run commands without configuring a local SSH client. Once connected, the terminal displays a welcome message and command prompt.
Jupyter Notebook Integration
For tasks with Jupyter enabled, click Jupyter in the Pod list's actions column to open the online notebook environment.

Tip
Select an image whose name contains "jupyter" to use Jupyter Notebook.
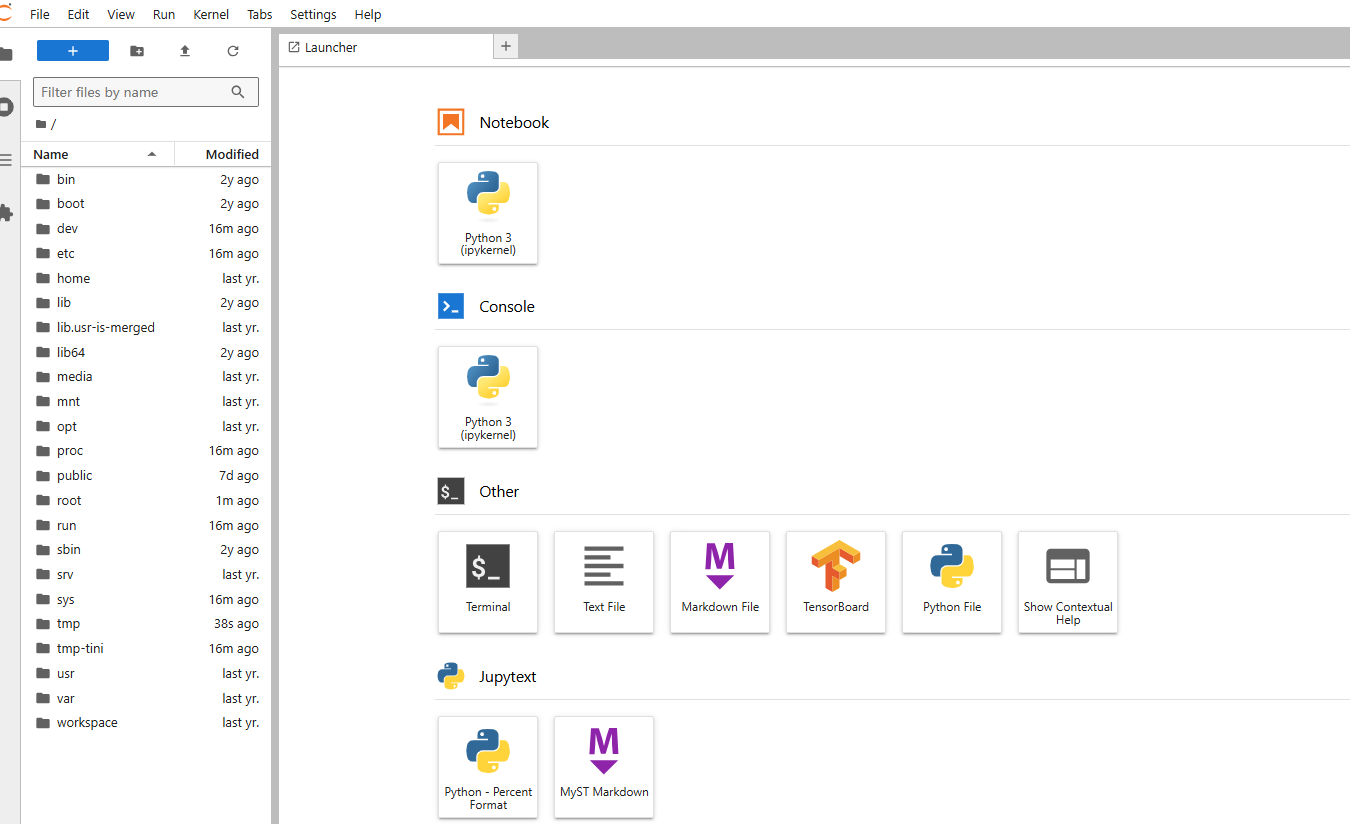
The environment is based on JupyterLab and supports Python 3 (ipykernel) notebooks, consoles, terminals, text files, Markdown files, TensorBoard, and other tools for interactive development and debugging.