Bare Metal
Overview
Bare Metal Service Management allows users to fully leverage the power and performance of physical servers while maintaining control and flexibility over their configurations and operations.
Creating Bare Metal Services
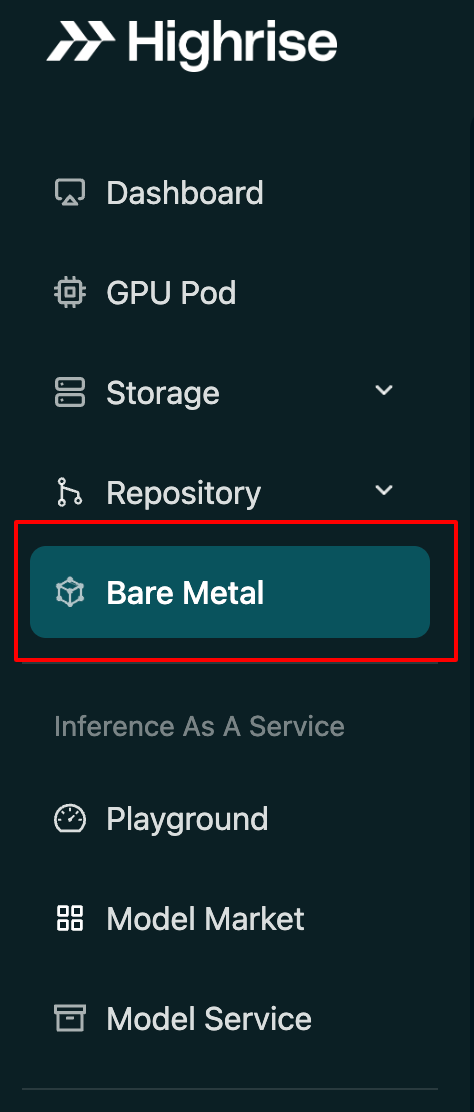
Step 1: Accessing Bare Metal Section
Navigate to the side navigation bar and click on the "Bare Metal" section.
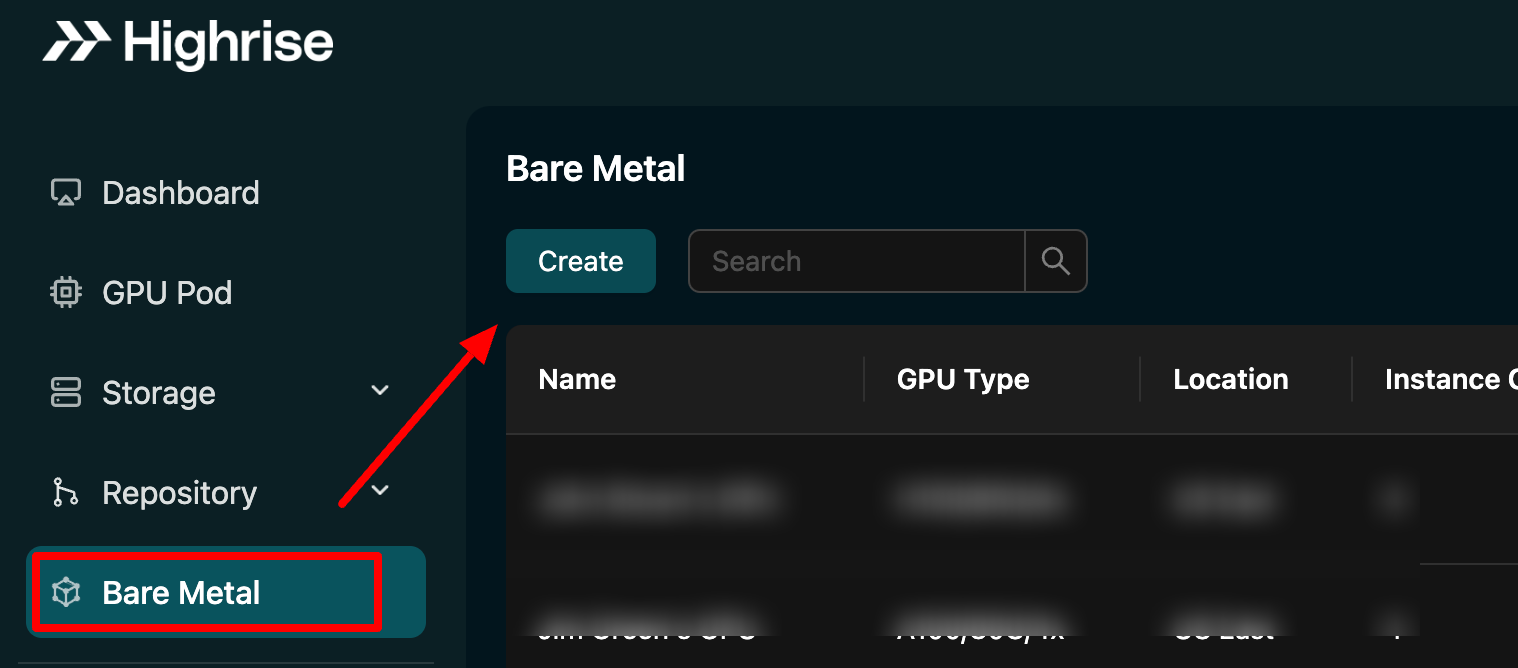
Step 2: Creating a New Bare Metal Instance
Click the "Create" button on the "Bare Metal" page to start the process of creating a new instance.
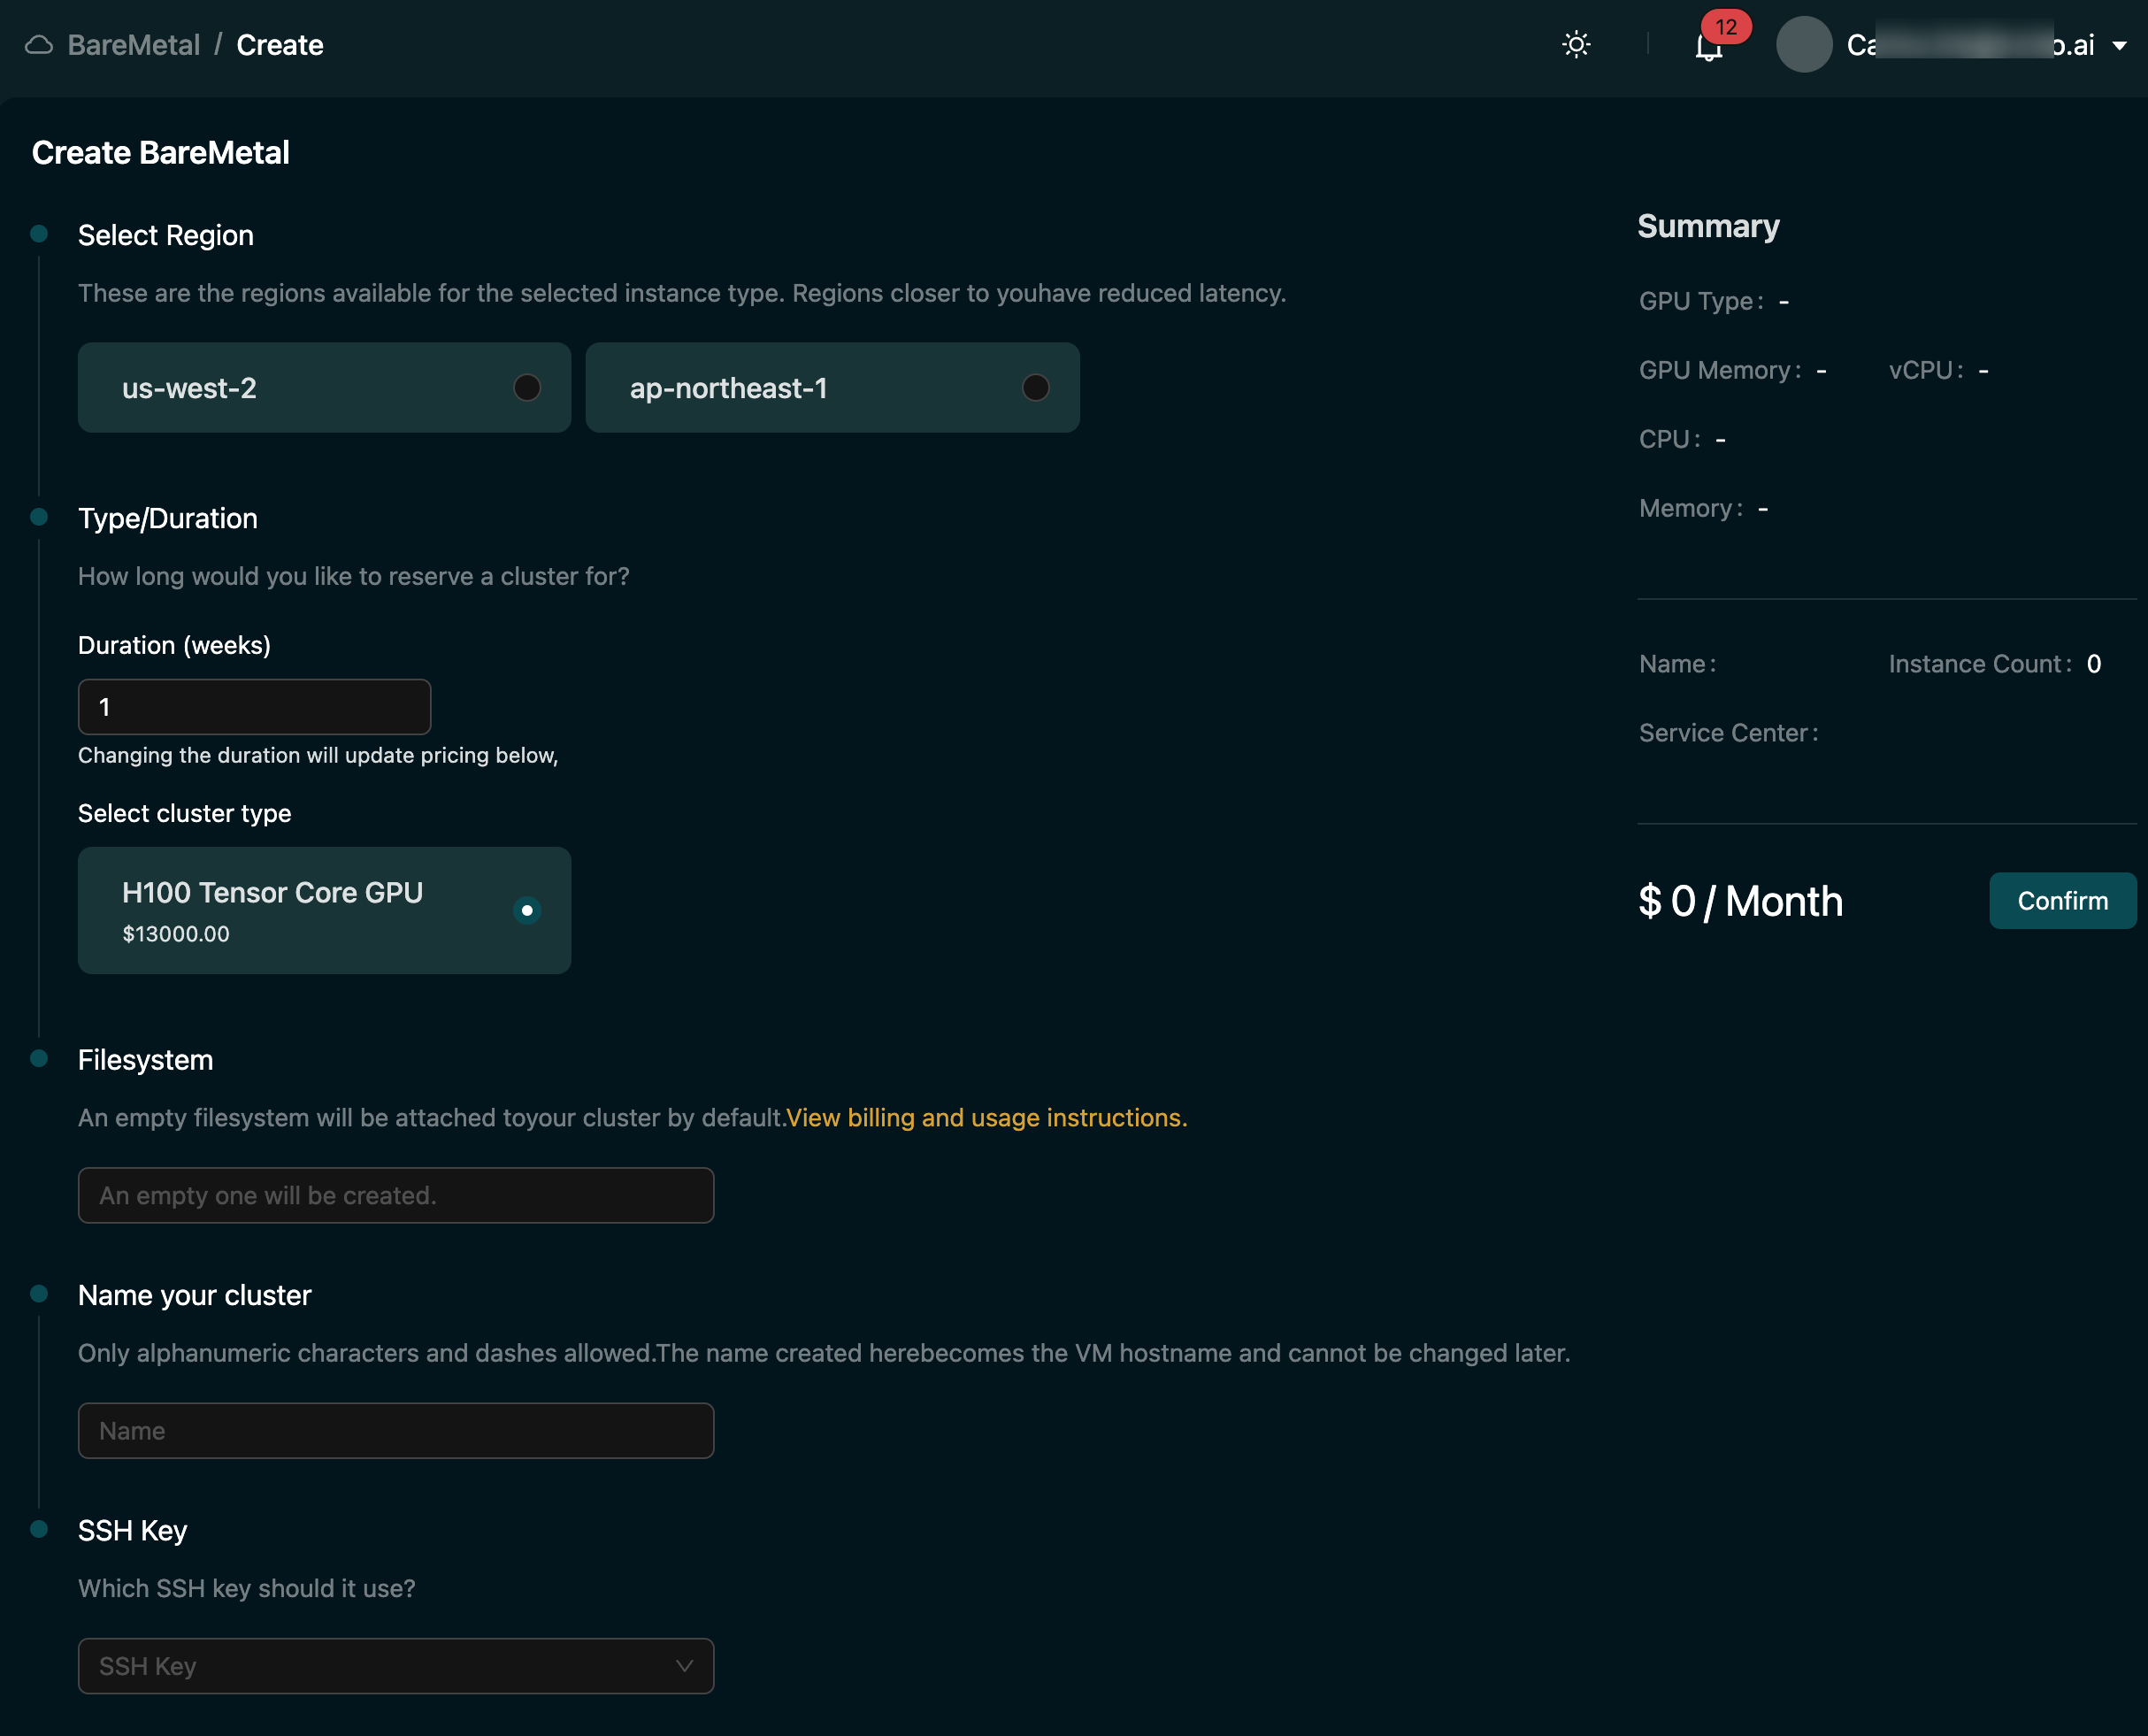
Step 3: Configuring Instance Details
Fill in the necessary details to configure your instance:
| Option | Description |
|---|---|
| Region | Select the geographical region for your server. |
| Type/Duration | Choose the server type and rental duration. |
| Filesystem | Select the preferred filesystem for your server. |
| Cluster Name | Name your server cluster. |
| SSH Key | Select an SSH key for secure access. |
Managing Bare Metal Services
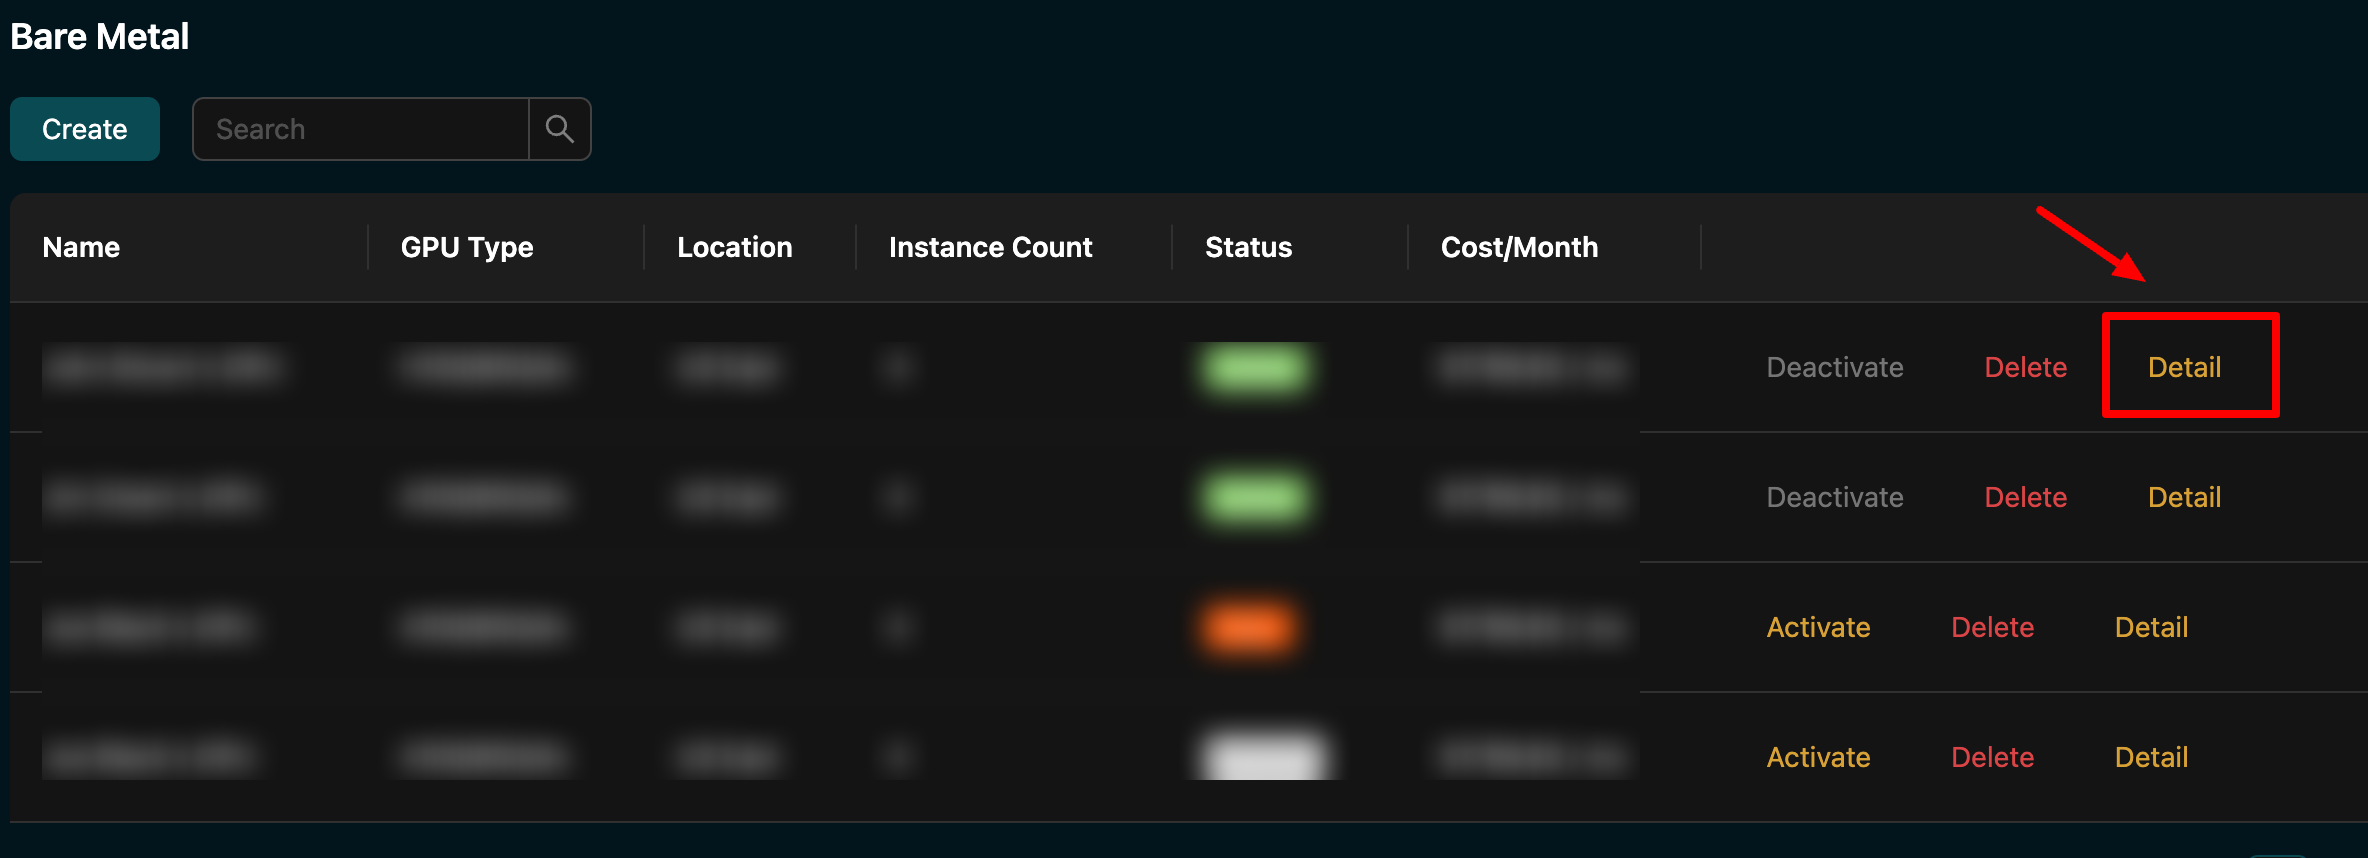
Step 4: Reviewing Instance List
Review the list of your instances to check their status and monthly cost.
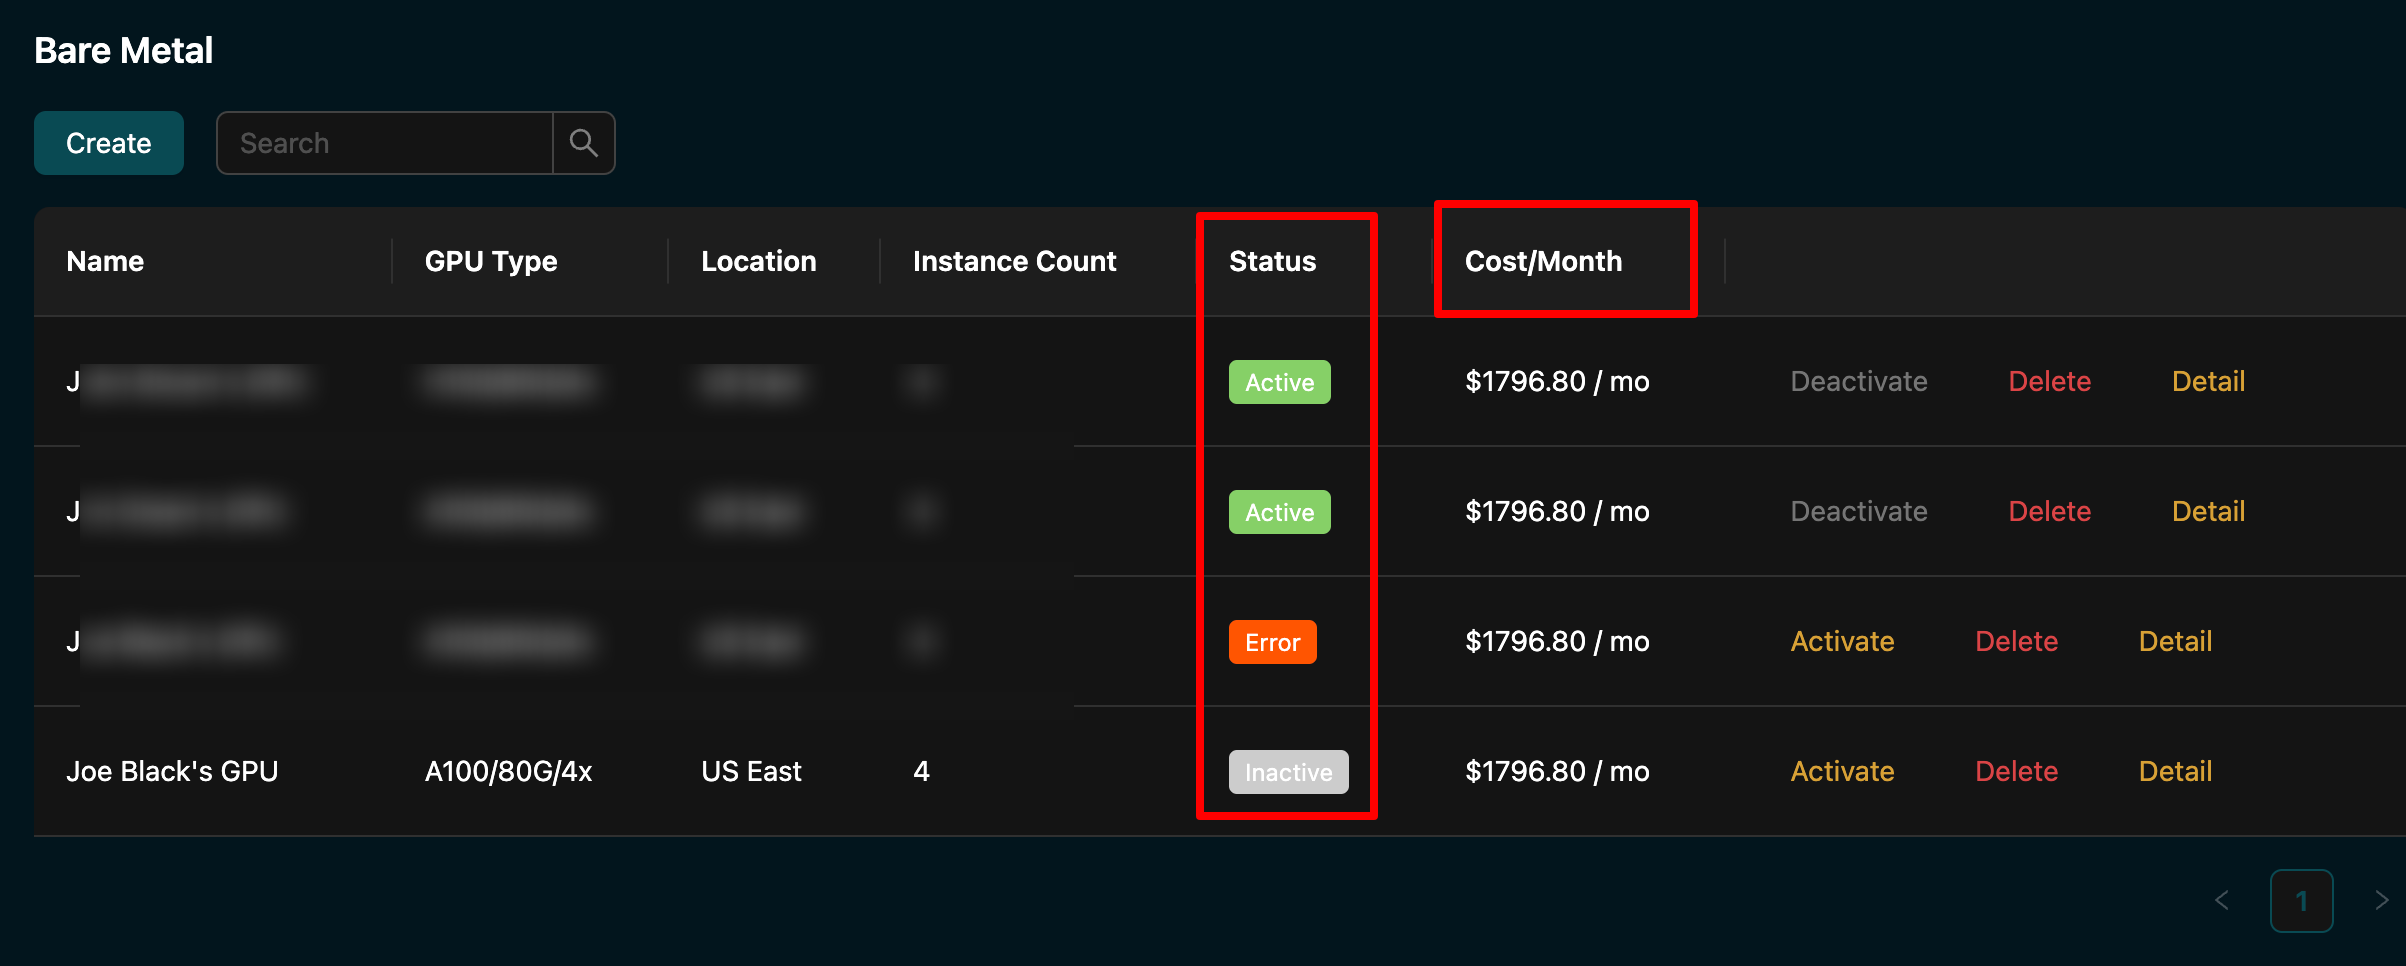
Step 5: Managing Instance Status
Manage the status of your instances by clicking on "Detail" to view more information, and perform actions such as activation, deactivation, or deletion.
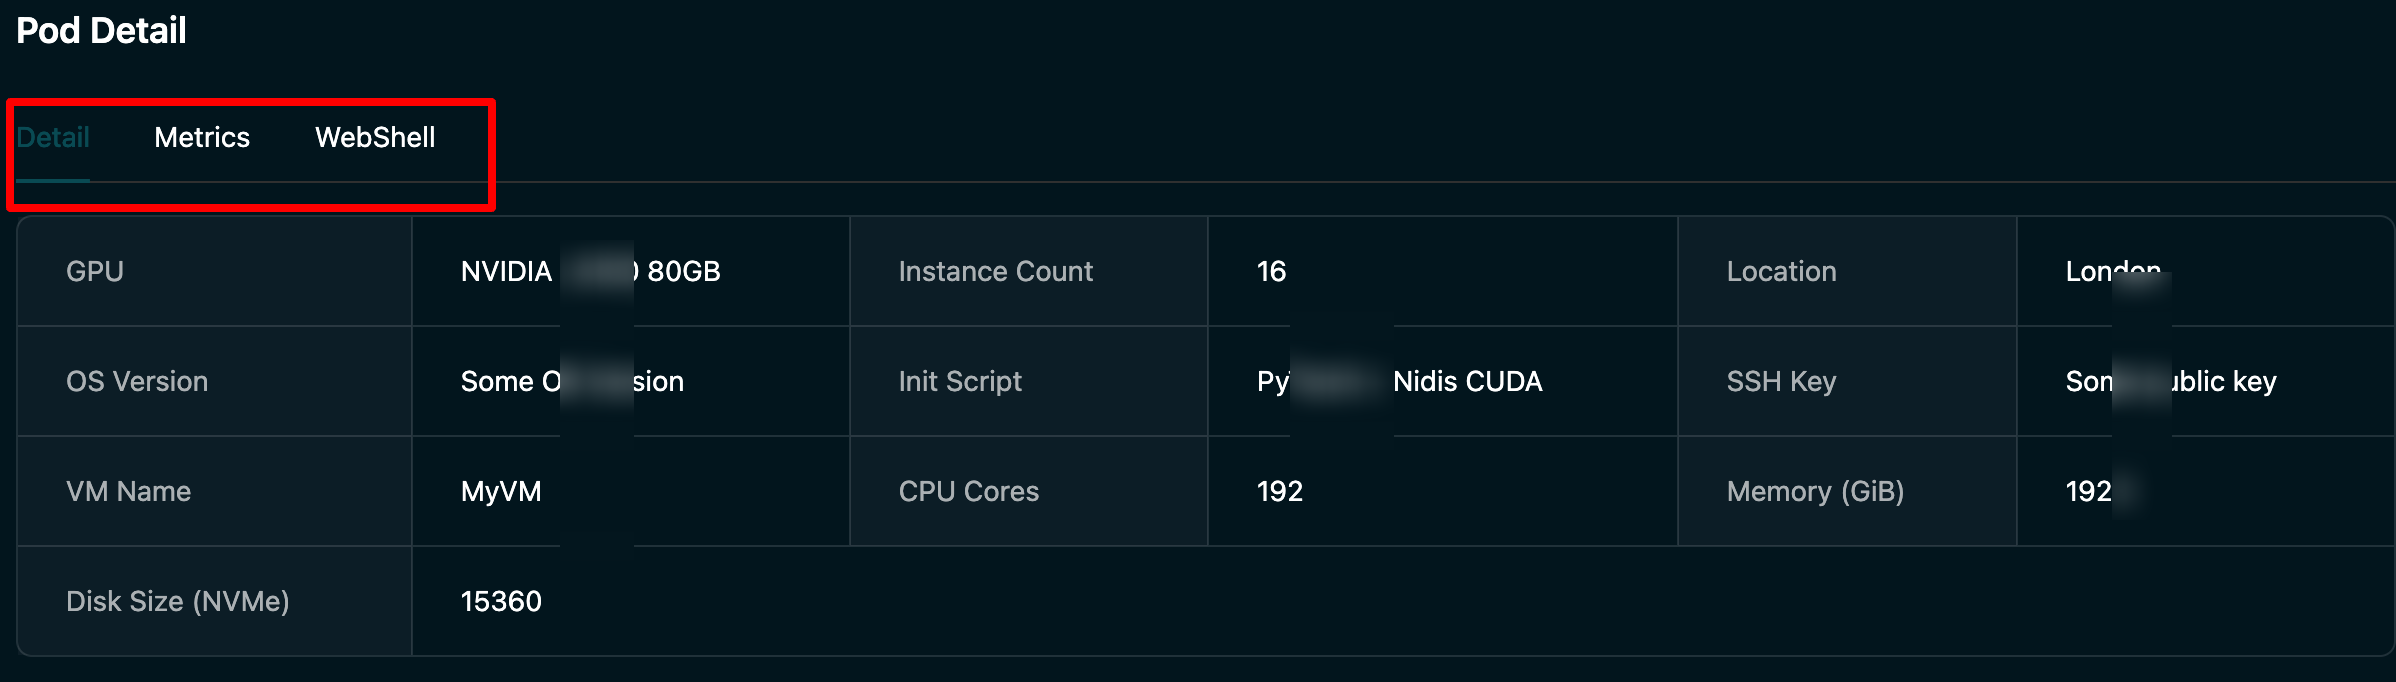
Step 6: Viewing Instance Details
Navigate to the instance details page for a detailed view of an instance, including its configuration and performance metrics.
Before You Proceed
Note
Ensure that you have completed the setup of Bare Metal services before proceeding to storage management.
Next Steps
For further management and optimization of your Bare Metal services, proceed to the Storage section to learn how to manage storage resources effectively.